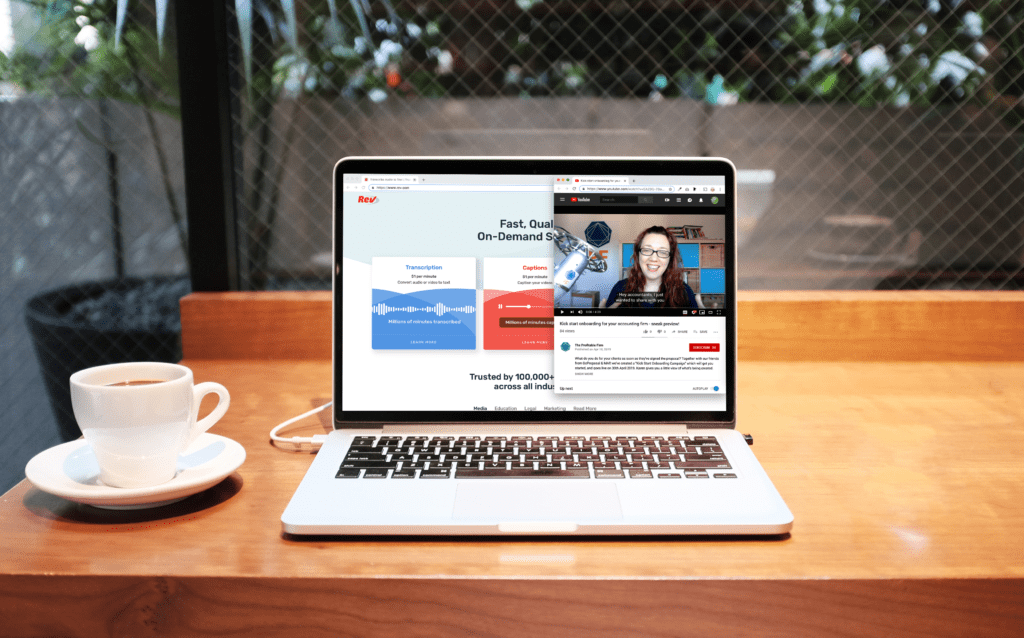
Video content is hands down the strongest engagement tool in your firm’s marketing armoury. It will give a huge boost to your relationship with people: whether they are at the prospect stage and looking at your social media, or if they’ve signed the proposal and are now moving through your onboarding process. The video gives that human connection. A glimpse into your firm and their future.
Recording a video takes time, effort and a dose of courage so you 100% want the best results.
There’s now a way you can increase how well your video performs even further, and that’s by adding captions. In fact if you don’t have captions on your video you’re missing a trick – and more specifically missing out on an extra 40% of watch time per video!
What are captions (closed or open)?
It’s the text that appears on the video, showing you what the audio is saying. You’ll have seen this on loads of videos all across social media and YouTube. Including new PF ones!
You get two types of captions. The first is closed Captions (CC) and they can be turned on or off – you have control. Then there’s open captions which are permanently added to the video. I’d recommend using closed captions if you have an option so you have some flexibility. 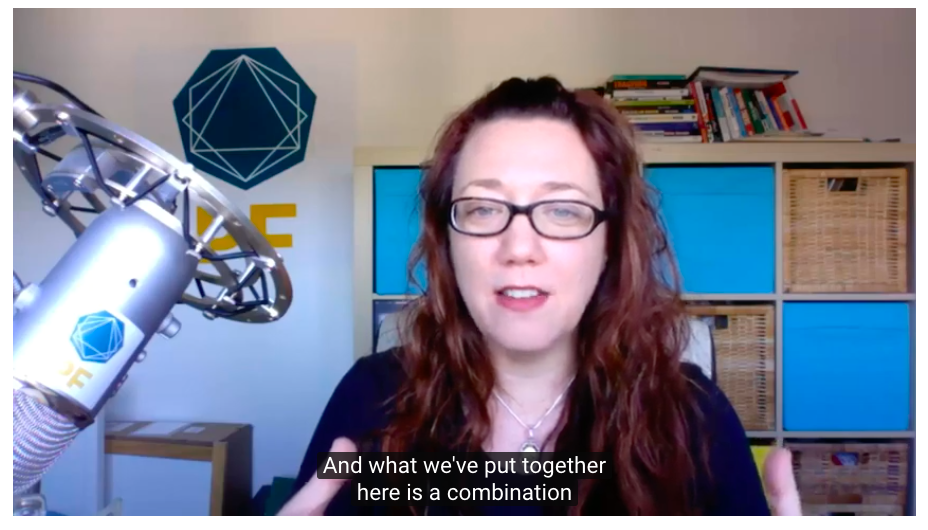
What are the benefits of adding captions?
1. Improve user experience and accessibility
Captions make your videos accessible for everyone, anywhere which opens up the chance of your clients and prospects watching.
Lets face it, we’re all busy rushing around and sometimes we can’t have sound on when scrolling through our phone while on the train. So we’re much more likely to watch a video that runs captions, and still get the information but in a format that works for our surroundings.
The same applies if someone has hearing problems: they’ll still be able to absorb your content, which without captions they’d struggle.
Facebook users watch over 8 billion videos per day, and 85% of those don’t have the sound playing.
The easier we can make things for people, the higher chance of them engaging.
2. Captions give you an SEO Boost
Google and other search engines love video content and tend to rank these higher in search results. The only problem these search engines have is that they can’t index your video from the spoken content: only from the descriptions and tags you add that helps to identify what it’s all about. Another bonus of captions is that Google can crawl the text, index it and make it much more searchable.
So by adding captions you’re going to help your video rank higher in search results.
3. Reinforce your message to stay top of mind
We see videos, posts, and content everywhere and to be honest we only retain a tiny amount of the facts.
By having audio and text you’re reinforcing your message which will help your audience remember what you’ve said.
4. Keep up with the industry and your clients
You don’t want to do something just because someone else is: but captions are becoming the norm, and are expect. The top social platforms like Twitter, Facebook and LinkedIn now make it easy to upload a caption file along with your video.
The text overlays help you understand what the video will be about before you start investing your time in watching it all the way through.
Tastemade: Love the videos from these guys! They share step by step recipes: showing you visually the ingredients needed and how to use them, and then have text to share the quantity of each ingredient needed. It reinforces all the stages.
GoProposal: You’ll notice a lot of their newest videos now include open captions: especially the interview style videos where there’s not a lot of movement to keep you engaged.
Xero: Xero have captions too! They tend to use them on videos which share details about what to do with the software. A reminder to use your judgement and add captions on videos that need them, where it will enhance the viewer experience.
Walji & Co: Reza owner of Walji & Co has kicked off his captions! He’s used a video as part of his launch plan for his new book, and added captions to increase engagement.
How do I get a caption file?
We use Rev to create the caption file and find it really accurate: and they have the file ready within 24 hours, but there’s lots of transcription websites around.
To create a caption file:
- Sign up for an account
- Upload your video file or share the url
- Then once the file’s ready, download the file
Tip: The files are not combined, so what you download from Rev is the caption file only. (I spent a good 30 mins figuring that out!)
Rev supply the file in a lot of different formats because each video platform varies in the type of file it needs.
Here’s a quick run down of the preferred file format per platform:
- YouTube. Scenarist (.scc)
- Vimeo. WebVTT (.vtt) is the format Vimeo recommend, but Scenarist (.scc) also works.
- Facebook. SubRip (.srt)
- LinkedIn. SubRip (.srt)
- Twitter. You can’t add the file directly, the video needs to already include the caption.
If you’d rather work on the captions yourself you could use a video editing tool like Camtasia. It will also allow you to add any specific keywords you’d like Google to pick up on. But bear in mind it’ll take a lot of time.
Here’s how to upload the caption file and video to the top platforms:
I’d say this is the most straightforward. LinkedIn are prioritising video over all other content, especially those videos that are uploaded directly. Learn more about LinkedIn Native video here.
- Once logged into your LinkedIn account go to the ‘start a post’ section and click on the video icon.
- Upload your video
- Click the edit (pencil icon) on the uploaded video
- Upload your SRT caption file
- The captions are then automatically combined with the video
- Post your video.
Video is huge on Facebook so it’s 100% worth the time it takes to upload the file here.
- Upload your video and post it (as it is – no captions yet)
- Then go to the live video and click ‘edit video’ which sits in the options under the video
- Click ‘Subtitles and captions CC’
- You’ll then get the option to either upload your SRT caption file or turn on auto captions. Click upload file.
- Review the video.
YouTube
YouTube has it’s own caption option but it’s not always accurate, so we’d still recommend adding your own.
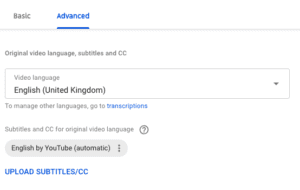
- Login and go to your video manager
- Select the video you want to add the captions into, it’ll open up in ‘creator studio’
- Click edit
- Select Advanced options
- Select upload subtitles/cc
- Upload your .scc caption file
- Save
- Review the video and ensure you’ve toggled the captions on.
Track your video views
Once you’ve got your captioned video ready, share away!
Track your views each month so you can monitor your progress and see if people are engaging with the video content over time. Again combine this with the rest of your marketing analytics to get a clear picture.
Col our Head Brand Designer has seen an amazing jump in his video views by simply doing a video every day: not only has he improved his skills but he’s getting much more engagement.
If you’re still hitting the pause button when it comes to recording your own I really urge you to go for it. You don’t need a lot of expensive equipment, take a look at this list and it’ll get you started.

